

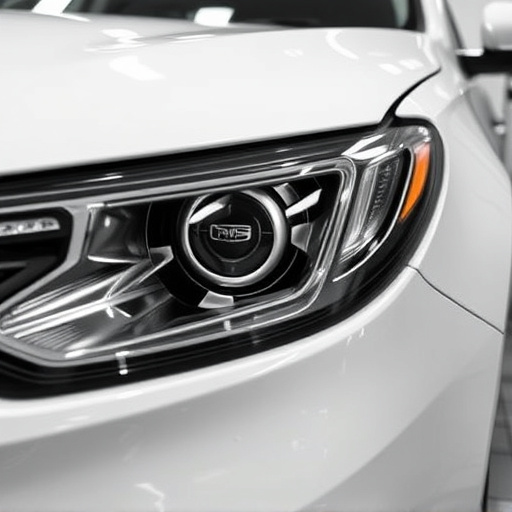
Tesla tint replacement goes beyond aesthetics, offering enhanced privacy, heat reduction, and UV protection. A meticulous process includes repairing damage, removing old tint, applying new layers with secure edge sealing, and final inspection. Professional assistance is crucial to address common issues like air bubbles, ensuring a seamless finish that maintains vehicle integrity, performance, and optimal light control for both safety and style.
Tesla tint replacement is not just about darkening your windows; it’s about enhancing safety, comfort, and vehicle aesthetics. This comprehensive guide delves into the intricacies of Tesla tinting and its benefits, followed by a step-by-step process for a professional replacement. We explore common issues post-installation, offering solutions for air bubbles and edge sealing problems. Learn how to ensure your Tesla’s tinted windows not only look great but also perform optimally.
- Understanding Tesla Tinting and Its Benefits
- The Process of Replacement: A Step-by-Step Guide
- Common Issues Post-Tint Installation and How to Address Them
Understanding Tesla Tinting and Its Benefits
Tesla tinting is a specialized process that enhances both the aesthetic appeal and functionality of your vehicle’s windows. It involves carefully applying high-quality tinted films to the glass, offering various benefits for Tesla owners. One of the key advantages is improved privacy; tinted windows reduce visibility from the outside, providing a sense of security and peace of mind while driving. This feature is particularly appealing in bustling cities where privacy is a premium.
Additionally, Tesla tinting can significantly reduce the amount of heat that enters the cabin, making your car more comfortable during hot summer days. By blocking harmful UV rays, it protects both passengers and interior materials from fading and damage. Moreover, proper Tesla tint replacement, including edge sealing and air bubble removal, ensures a seamless finish and maximum effectiveness. This process is crucial for maintaining the vehicle’s structural integrity, particularly after potential incidents like car collisions or previous repair works, ensuring your Tesla not only looks great but also functions optimally in terms of both aesthetics and safety.
The Process of Replacement: A Step-by-Step Guide
The process of replacing Tesla tint involves several precise steps to ensure a flawless finish and optimal performance. It begins with thoroughly inspecting the existing tint and identifying any damages, such as cracks or air bubbles, which require removal. Next, the old tint is carefully stripped away using specialized tools, taking care not to damage the underlying vehicle bodywork. Once the surface is prepared, a new layer of tint is applied, ensuring even coverage along the window edges.
During installation, meticulous attention is paid to edge sealing to prevent any light leakage and ensure the tint adheres securely to the glass. This involves using high-quality sealants and following specific application techniques recommended by Tesla. After the tint is fully cured, a final inspection is conducted to check for air bubbles or uneven surfaces. If any issues are found, they are promptly addressed before considering the job complete. This meticulous approach guarantees not only an aesthetically pleasing finish but also ensures the vehicle’s windows function optimally, providing both privacy and protection from the elements.
Common Issues Post-Tint Installation and How to Address Them
After a Tesla tint replacement, several common issues can arise. One of the most frequent problems is air bubbles trapped beneath the film, which can detract from the overall aesthetics and functionality of the tinted windows. These bubbles often form due to improper installation or slight variations in the surface of the vehicle’s window. Another issue is poor edge sealing, leading to seeping of light around the edges of the tint, causing a less-than-desirable finished look.
To address these problems, it’s crucial to seek professional assistance from an experienced auto body shop specializing in Tesla tint replacement. Skilled technicians use specialized tools and techniques to carefully remove air bubbles and ensure proper sealing along the edges. This process involves meticulous removal of the existing tint (if necessary), application of a fresh layer, and thorough inspection to guarantee a clean, smooth finish that enhances your vehicle’s appearance while providing optimal light control and privacy.
When considering a Tesla tint replacement, understanding the process and potential issues ensures a smooth and satisfying outcome. By following a comprehensive guide and addressing common challenges, such as edge sealing and air bubble removal, you can enhance your vehicle’s aesthetics and privacy. Remember, a professional approach to Tesla tint replacement is key to achieving optimal results.