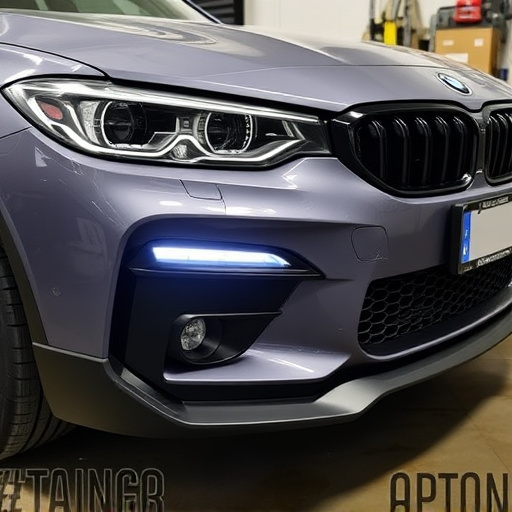


Tesla window tinting enhances aesthetics, privacy, and UV protection but requires proper installation and maintenance. Improper or damaged tint may lead to peeling, fading, or gaps. Skilled professionals offer seamless Tesla tint replacement, ensuring long-lasting performance. Regular care practices, including gentle washing and inspections, preserve the integrity of tinted windows. Promptly address damage through professional services to maintain optimal vehicle condition.
Tesla owners often opt for window tinting to enhance privacy and protect their vehicles. However, improper or damaged installations can lead to issues like faded tint, bubbles, or peeling. This article guides you through the process of replacing Tesla tint, offering a step-by-step approach for DIY enthusiasts. We also provide tips to prevent future damage and ensure your Tesla’s tint remains pristine, ensuring your vehicle stands out in style and security. Learn how to tackle Tesla tint replacement with confidence.
- Understanding Tesla Window Tinting and Common Issues
- The Process of Replacing Tesla Tint: Step-by-Step Guide
- Tips for Preventing Future Damage and Maintaining Your Tesla's Tint
Understanding Tesla Window Tinting and Common Issues

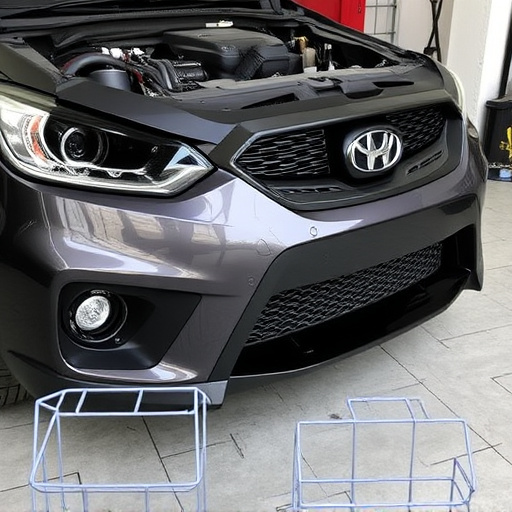
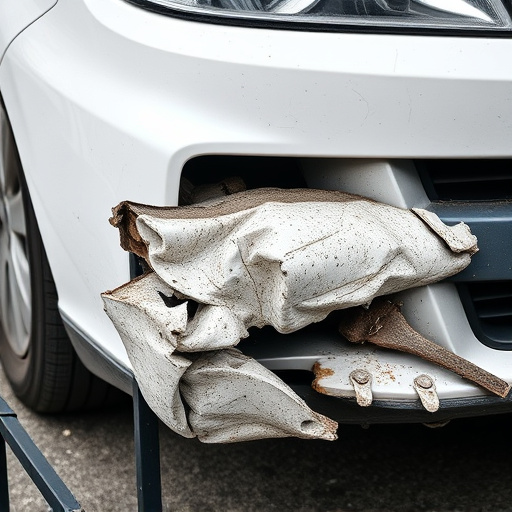
Tesla window tinting is a popular modification among owners looking to enhance their vehicle’s aesthetics and functionality. The process involves applying a specialized film to the car windows, offering various benefits like UV protection, reduced glare, and improved privacy. However, improper or damaged installation can lead to issues that require Tesla tint replacement. Common problems include bubbles, wrinkles, or gaps in the tint film, often caused by inadequate application techniques or compatibility issues with specific vehicle models.
Another concern is the potential for the tint to peel or fade over time due to exposure to extreme temperatures, direct sunlight, or poor installation quality. In such cases, collision repair services might be needed, especially if the damage extends beyond just the window tint. Auto body painting and auto painting professionals skilled in Tesla tint replacement can ensure a seamless fit and optimal performance, addressing any aesthetic imperfections and providing long-lasting protection for your vehicle’s windows.
The Process of Replacing Tesla Tint: Step-by-Step Guide
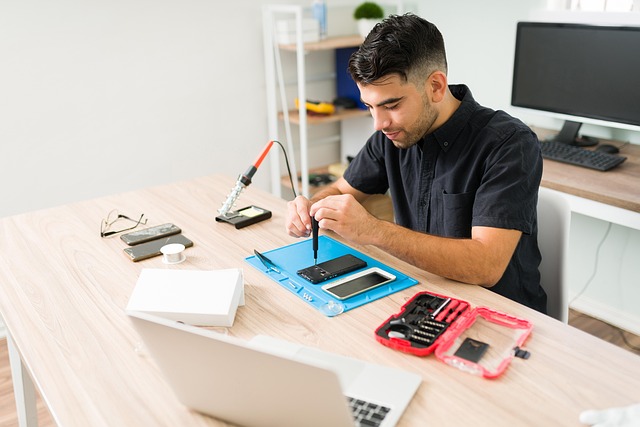
Replacing Tesla tint involves a meticulous process to ensure the new film adheres perfectly and enhances your vehicle’s aesthetics without causing further car damage repair. Here’s a step-by-step guide for a successful Tesla tint replacement after improper or damaged installation:
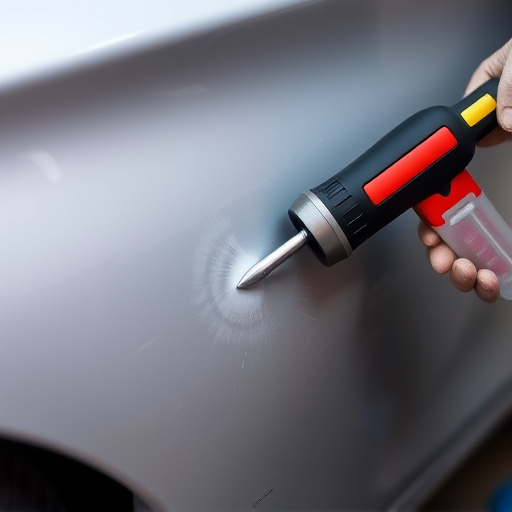
1. Prepare Your Workspace: Begin by washing and drying your Tesla thoroughly to remove any dirt or residue that might interfere with the new film’s adhesion. Create a clean, well-lit workspace, ensuring all necessary tools like blades, scrapers, and cleaning solutions are readily available. This prepares not only your car but also sets the stage for precise frame straightening if required.
2. Remove Damaged Film: Carefully peel away the damaged or improperly installed tint film using a heat gun or hair dryer to loosen it. Employ a scraper to lift the edges gently, avoiding any scratches on your Tesla’s finish. Once loosened, remove the old film entirely, taking care not to damage the car’s paint or window seals during this car restoration process.
3. Clean and De-grease: Thoroughly clean the window surfaces using a high-quality glass cleaner and microfiber cloths. Ensure no residue or grease remains, as these can hinder the new tint’s adhesion. A pristine surface guarantees optimal results for your Tesla tint replacement.
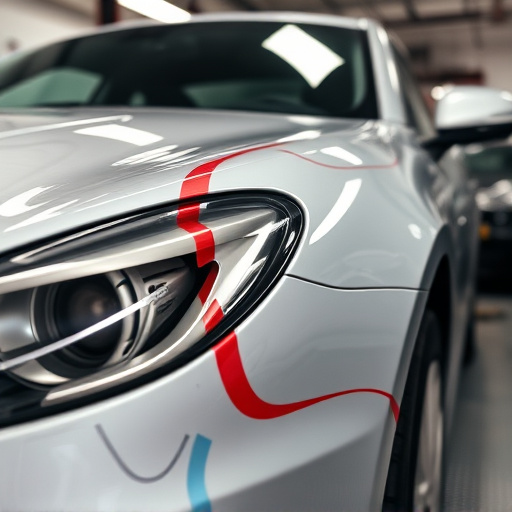
4. Apply New Film: Position the new tint film carefully, starting from one corner and working your way across the window. Use a squeegee to remove any air bubbles, ensuring complete contact with the glass. For curved surfaces, apply pressure along the curve to ensure uniform adhesion. This meticulous application is key to achieving a seamless finish that enhances both functionality and aesthetics.
5. Trim and Finish: Cut off any excess film using sharp blades or scissors designed for tinting. Ensure smooth edges and blend seamlessly into the car’s factory-installed trim. Double-check your work against each window, adjusting as needed for a precise fit.
Tips for Preventing Future Damage and Maintaining Your Tesla's Tint
To prevent future damage and maintain your Tesla’s tinted windows, regular care is essential. Start by washing your car gently using a soft cloth and a pH-balanced detergent, avoiding abrasive cleaners that could scratch the film. Dry the glass thoroughly to minimize water spots and potential damage from condensation. Regular inspections are crucial; check for any signs of chipping, cracking, or bubbles under the tint film. Promptly addressing these issues with professional Tesla tint replacement services can prevent further damage and maintain the integrity of your vehicle’s protection.
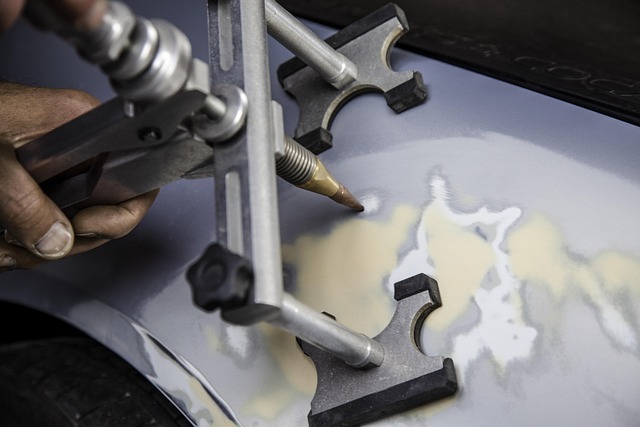
Additionally, protect your investment by parking in secure areas, away from direct sunlight and extreme weather conditions, which can accelerate degradation. Consider using window films designed to offer UV protection, heat rejection, and privacy, ensuring they are properly installed. Regular collision repair and dent removal services should also be part of your maintenance routine, as these can impact the overall condition of your car’s exterior, including its tinted windows, over time.
If your Tesla’s window tint has been damaged or installed improperly, don’t worry—a professional replacement is within reach. By understanding common issues and following a detailed guide, you can restore your vehicle’s protective and aesthetic appeal. With proper care and maintenance, your Tesla’s new tint will withstand the test of time, keeping your car looking sleek and secure from harmful UV rays. Remember, a well-maintained Tesla tint is a valuable investment in both style and safety.